1. Prototyping electronic devices
The title of this course is Design and Construction of Biodevices. True to that spirit, we will be designing constructing a spectrophotometer and a pulse oximeter—two biodevices that you could easily buy, and not even for very much money. So why are we constructing them? There are two main goals.
You may have a novel idea for an experiment in which you need to make a measurement that has never been made before. Or maybe you want to measure something in a new way. In either case, there may not be an available instrument to perform that measurement, and you’ll have to build your own. This course teaches you the skills needed to build your own instruments having you build instruments with well-established functions.
As you develop new instrumentation, you build prototypes. The process of building prototypes, testing them, improving upon them, and repeating is key toward developing quality instrumentation. James Dyson famously built over 5000 prototypes of his bagless vacuum cleaner before it was ready for market. In building instruments, you will learn about the prototyping process and best practices.
Before building your devices, you will learn about the tools we will use for prototyping our devices. You will do a set of exercises to solidify your understanding.
A prototyping platform for electronics
For our prototyping, we will use
Commonly available electronic components such as resistors, capacitors, LEDs, op amps, etc,
Solderless breadboards,
An Arduino Uno board,
A computer with a scientific Python distribution.
When a device is fully constructed, the electronics are efficiently and permanently packaged into a small space, often using printed circuit board assemblies. When designing a device, the engineer needs space to tinker and make adjustments. In days of yore, engineers would hammer nails into flat wooden boards and would then connect the nails with wire to connect components. These pieces of wood were often breadboards, flat pieces of wood for kneading or serving bread. Prototyping in this way, while easier than trying to build a finished electronic product in each iteration, is slow, as you can imagine.
Fifty or so years ago (1971 to be exact), engineers began using solderless breadboards, an example of which is pictured below (photo by Evan Amos, public domain).
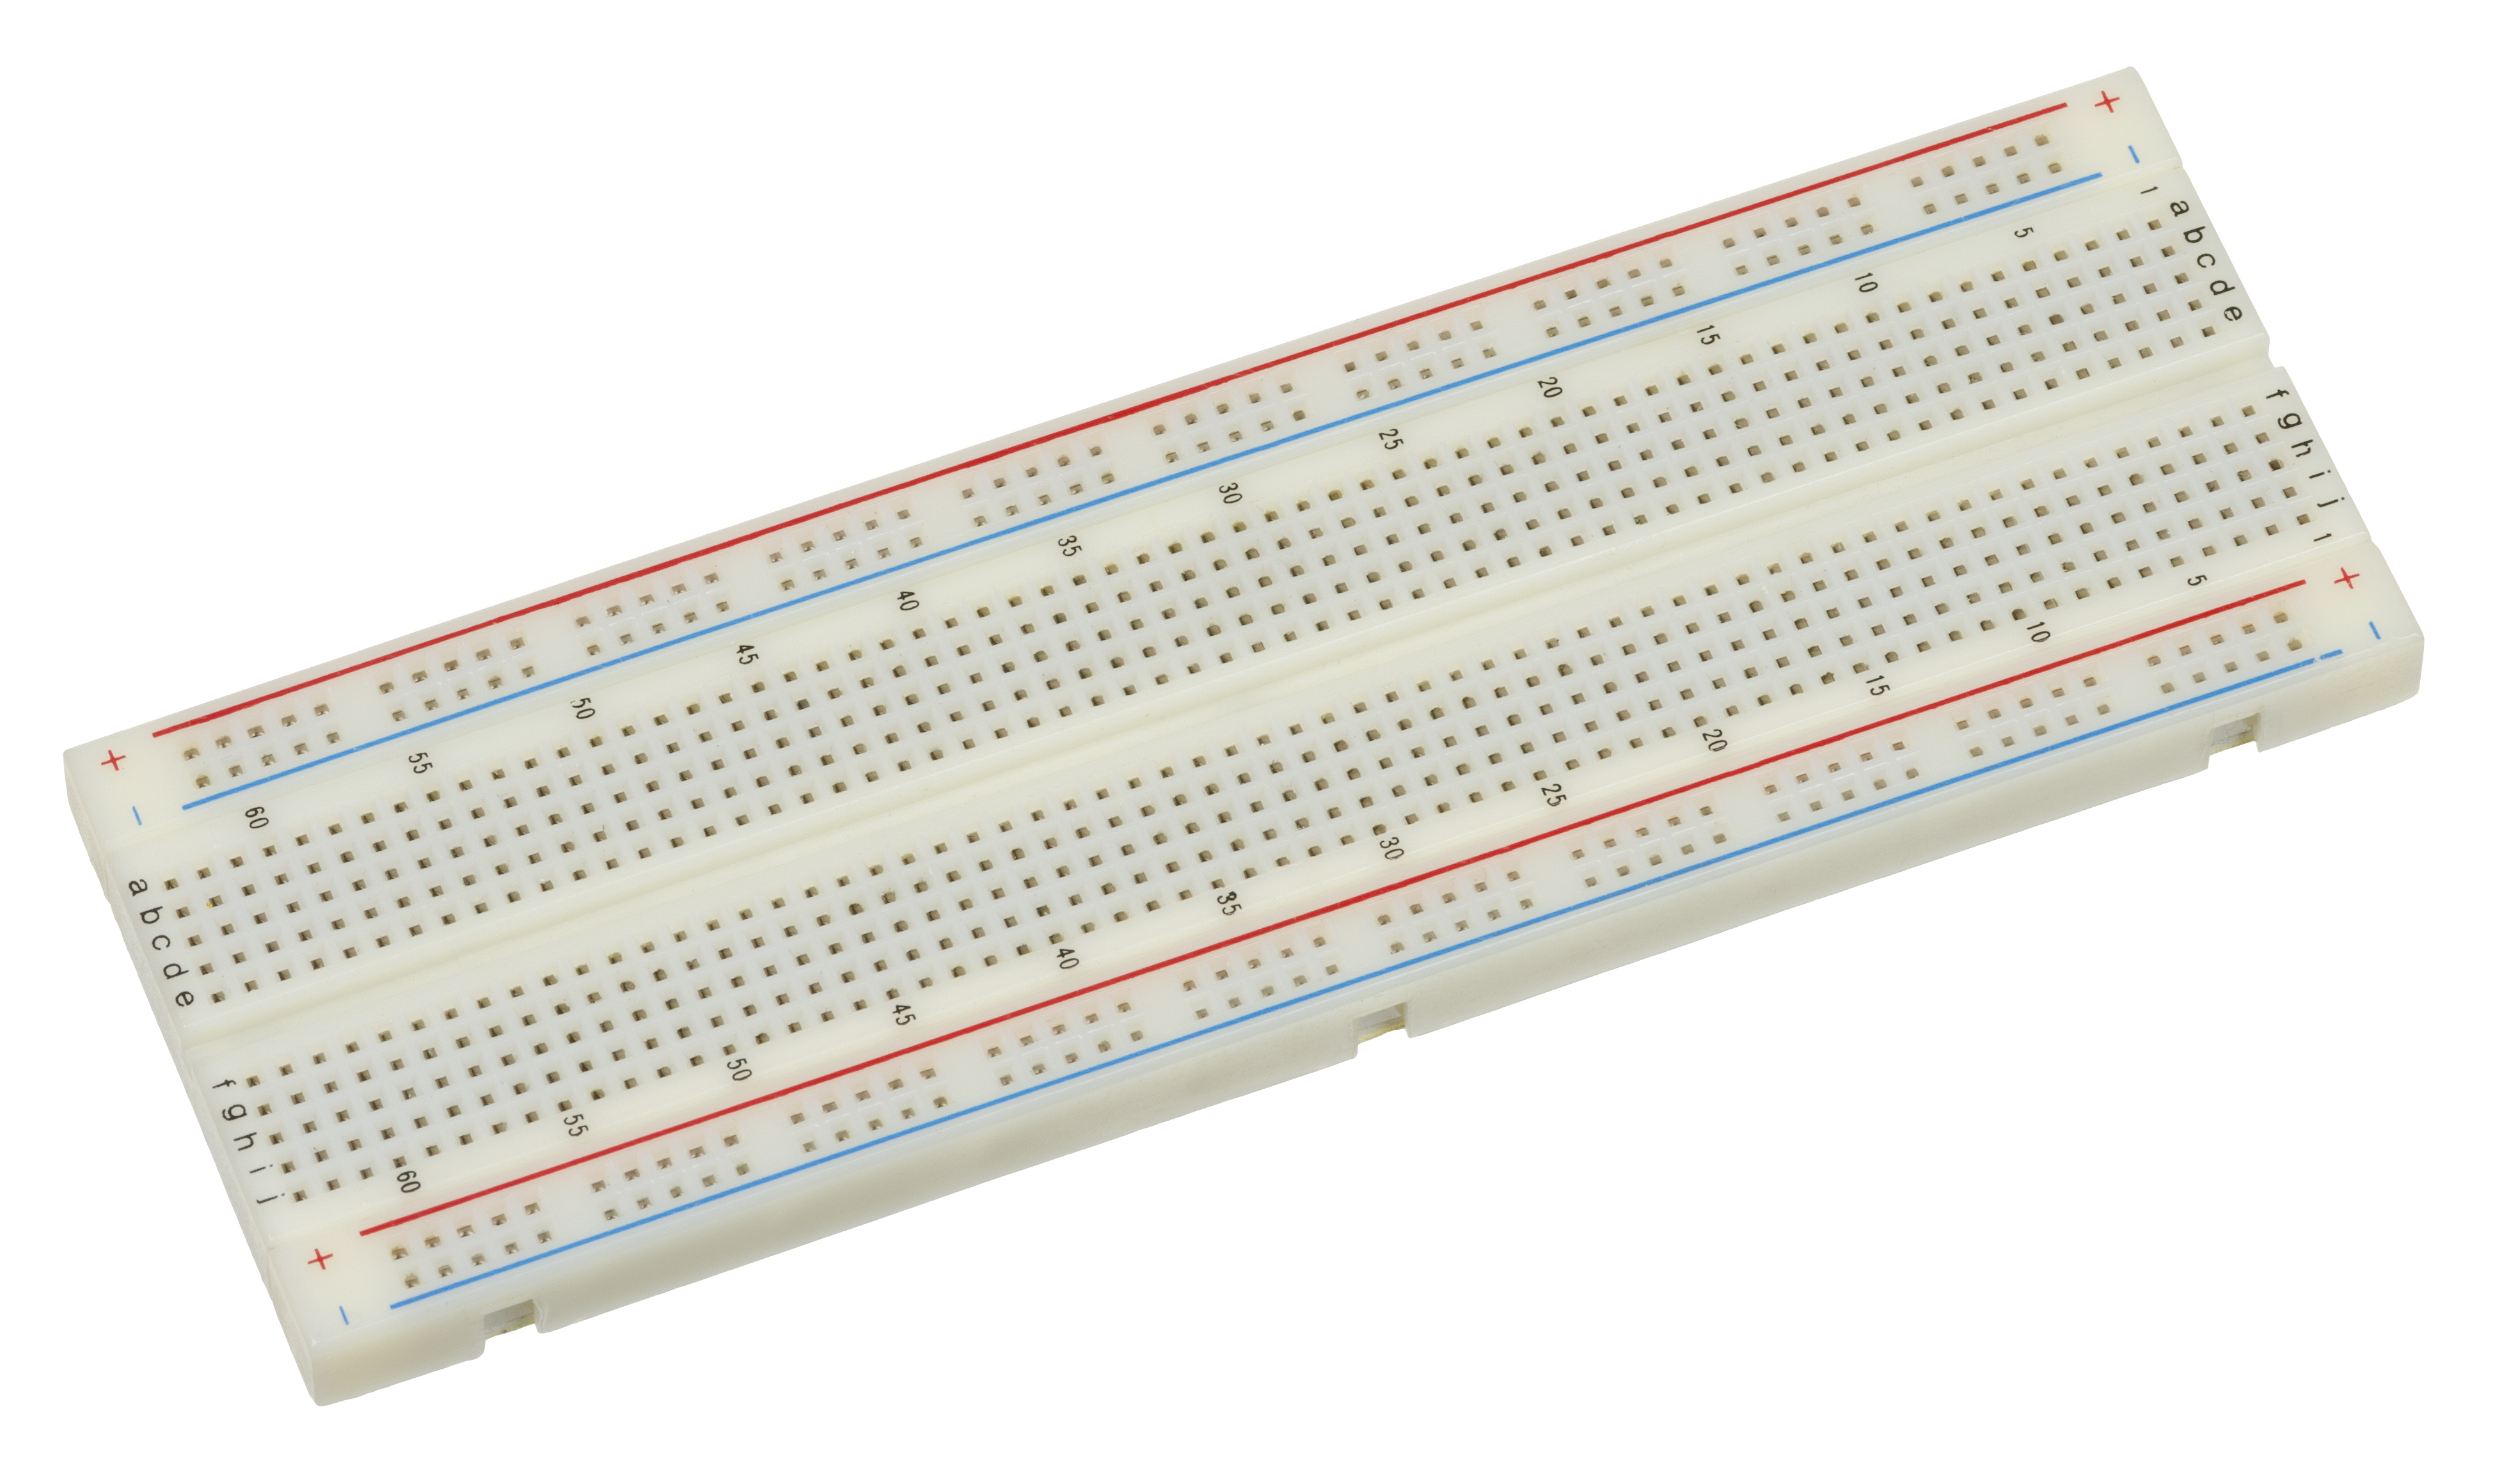
Engineers can stick the leads of electronic components into the little holes to rapidly connect circuitry. (We will discuss the structure of the solderless breadboards in the next lesson.) This greatly accelerated the prototyping process.
The past few decades have seen even more innovations that enabled further improvement in prototyping speed and efficiencies: the collective ability to shift many design implementations to software.
As a simple example of how this can speed prototyping, consider the “blink” example you will soon construct in a follow-along exercise. The goal is to design a circuit that has a light emitting diode (LED) that blinks twice per second. You could build an astable multivibrator, which requires several resistors, capacitors, and transistors. The frequency of the blinking LED would be set by your choices for the resistor and capacitor values. Conversely, you could simply hook an LED up to a power source that you can control with software. You can write a computer program that turns the power on and off with a set frequency. Then, to change blinking frequency, you need only to change a line or two in code, rather than change out physical components.
The Arduino platform provides a means for software-based control of electronic circuits. Combined with solderless breadboards, this allows for very rapid prototyping.
Finally, if we want to have a convenient interface for control of a device, such as a computer, we need means for communicating with the device. In the case of Arduino controlled devices, we need an interface to communicate with the Arduino board’s microcontroller. We will use Python-based tools to do that. These are also readily programmed and the “control panel” is comprised of a series of configurable buttons presented in a web browser. This is much faster to design and redesign than a physical control panel.